|
|
|
|
The Making of a Bergonzi violin 1 preparing the mould and blocks | 2 The Rib Garland | 3 Linings | 4 The back | 5 The Top | 6 The Neck and Scroll | 7 Varnishing | I've not covered purfling here - as I purfle after the body is closed up. Will do a separate page sometime soon ! To try to get these pages sorted I have just put the images a in as jpg's which open in a new browser window. Not my favourite way to do images - but its quick ! Most tops are joined but if you do get a one piece top at least the run out, if any, is all the same way. So whats run out ? Firewood - you know that old bit of 4x2 your dad used to chop up to light the fire. Split it down one way - split it the other. NO runout - the wood has split where the fibres are running. If the wedge has been sawn - then it does not necessarily follow this natural fibre line. One of the problems with spruce and runout is when you split the wedge - and join it, one piece has fibres sloping one way and the other go the other. This leads to difficulties in working across the join - and also it reflects the light in different ways. Sort of acceptable on maple as it all curley fibres anyway if its well figured - but on spruce its not good Sometime I will do some pics of runout - by preparing some spruce blocks and splitting them in both directions. There are tricks to correct it a bit. Ie - if the wedge is quite generous, you can plane away as much as possible one each half - sort of at an angle to the sawn cut, but closer to the natural split. Do each the opposite way. IF - you have enough on one side of the wedge to put the middle, widest edge to the outside and the thin edge in the middle, then you can make the runout go the same way. Not often you have enough to do this. You can avoid runout by only buying split tops - but they are a premium in price. Often better though to ge 2nd grade split than first fancy sawn - esoecially if you do not really know the source too well. Some split tops can also wind a bit - but thats a different problem.
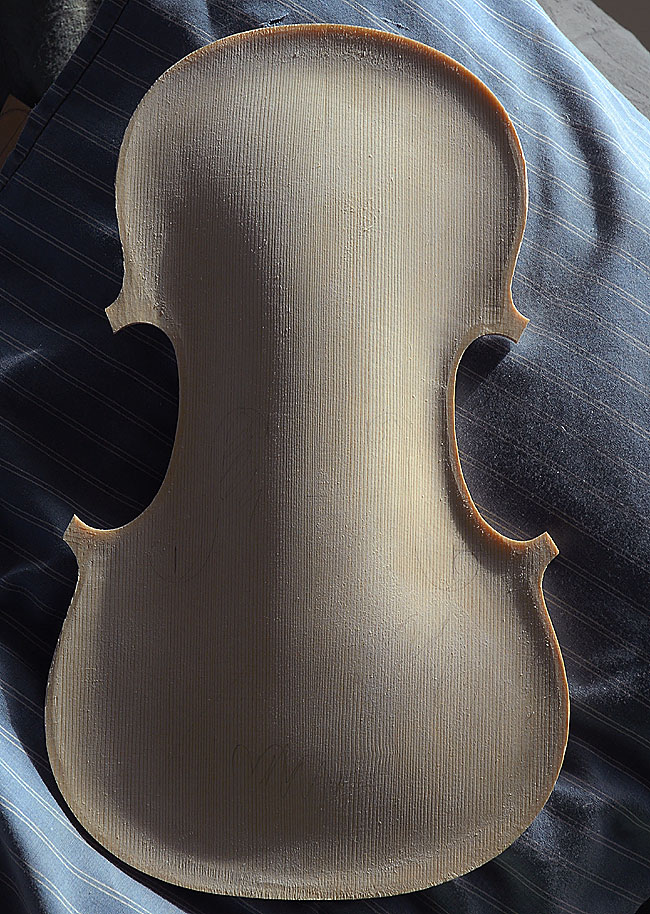
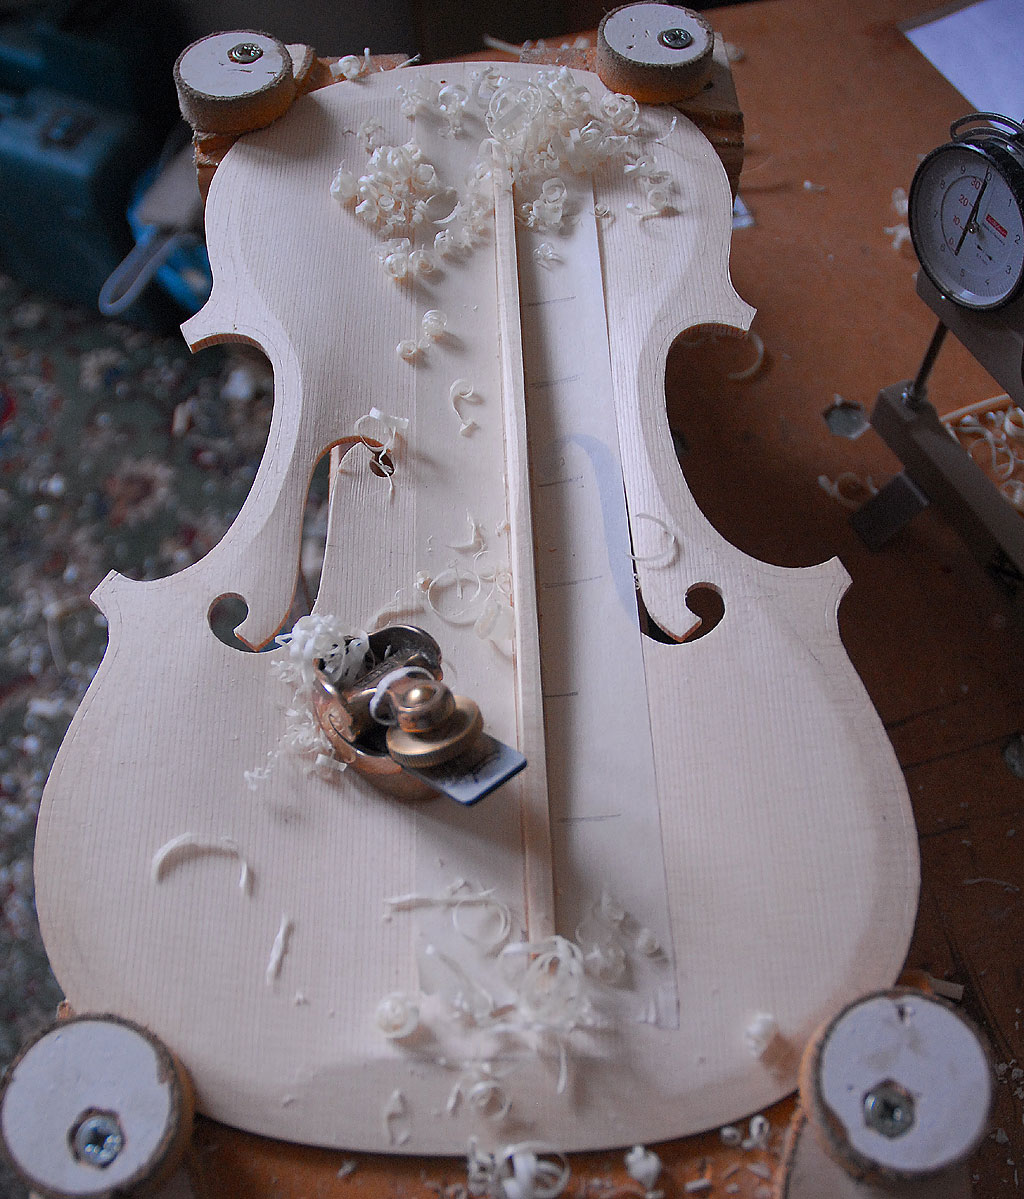
The top is started in exactly the same way as the back - but it oh so much easier to carve ! That is why I always do the back first. I sometimes mark the top from the ribs on the mould - but prefer to finish the back and remove the ribs from the mould and glue them to the back. Once dry - it is then flatted off by sanding on a surface board loaded with emery. Sometimes this is dead flat, or it can be bowed. I then mark the ribs to the top plate. Once turned over, one then has to address the ff holes. They really need piercing, marking and opening up roughly while the top is about 5mm thick. This is where the scribed line of the actual ribs is useful. I need to know exactly were the rib position is going to be near the ff hole lower eyes. Their placement is often very critical to this dimension. In the image above (1) the Bergonzi top has been reduced to nearly finished dims - the ff are cut to a finish. You can see the scribed line around the rib and the edge pencil line - plus my working markings for the plate thickness. I have always felt the making of the top to be the pinnicle of violin making woodwork. The spruce is so delicate under the tools yet surprisingly stiff - considering its mostly ends up under 3mm ! Once the thickness then is finalised around the ff holes - I finally trim them to their finished shape with a small knife. I have only recently started to trim all my corners with a knife. The more I do with a knife. the better I get with it. The shape of some of these corners is all to do with the way the knife can flow around the grain. I used to sand the curves of the corners with a sanding stick - especially on the spruce. You get a subtle shape with a sweep of a knife. ( the final shape of the corner is not cut utill the body is closed up ) So - essentially the top is thicknessed in the same sort of way to the back - except for the cutting of the ff holes - and the distribution of the final thicknesses. Generally - the back is uneven, heavy in the centre area and thinning into the bouts to maybe 2mm thick if it a hard piece of wood. The top is mostly even - and you would do no wrong at a uniform 3mm all over. Most old tops are sub 3mm - but time and maybe re-graduations have take their toll. I generally go just under 3mm around the ff holes - slightly more under the soundpost area. Final thickness is just a general feel. I do tap the plate to see what it sounds. Some tuning meters will pick up the note - or I tap it through the pc mic using a freebee sound analizer( spectrogram 16 ) - and I weigh it. I record these things - it makes me feel a bit scientific. I have no idea why I keep this information ! I personally think the whole plate tuning idea a veritable 'gum tree' up which many otherwise sound minds have become stuck ! The finishing of the top is done with scrapers - and the final scrape up is done in a very low light.(3) Its agood test of ones scrapers and the way you sharpen them. Its a long saga trying to get scrapers sharp and right - a difficult tool to master. If you make enough violins you eventually learn how to sharpen a scraper ! The Bass Bar I say the back is uneven in thickness - and the top even, but the top does have a bass bar glued to it. So really - this sort of matches the back. The bar is glued under the bass foot of the bridge and extends along the top from 40mm either end of the plate. It is set upright - a precise glued fit to the curve of the top, then profiled to shape. The fitting of the bar takes some care and patience. Also - even once fitting well, glueing it is not easy as the slightest change of position it deos not fit - due to the compound curves of the inside of the top plate. It is cut the same way as the rest of the top - ie quartered, winter growth upright and running top to bottom. Once exactly in its fitted place - small slips of scrap wood are glued in to locate it. Once these are dry - the bar can then be glued with hot glue exactly on it spot. Even then it can go astray. Its not an expensive item - it can always be chopped out, and a new one refitted. I have done it a few times and its tedious to re-do it ! So - top is done, back is glued to ribs. Its close the box time ! Always nice to close up the body - or 'corpus' to use the posh word, of a violin. The top side of the ribs and linings are flatted off on a board of emery. Sometimes the ribs dip toward the neck - or bow from end to neck. I usually seal up the end grain of the blocks with thin glue and let it dry. The glue used for tops is very, very thin. They need to be able to be popped off with relative ease. It may well be yourself who is taking it off ! This is also label time - and any small marking one wants to add. I usually pencil write my name and date and location where it cannot be seen. Many stamp various internal blocks. I don't think I have a problem of anyone forging my name - but professional makers are pretty wary fo such things. |