|
|
|
|
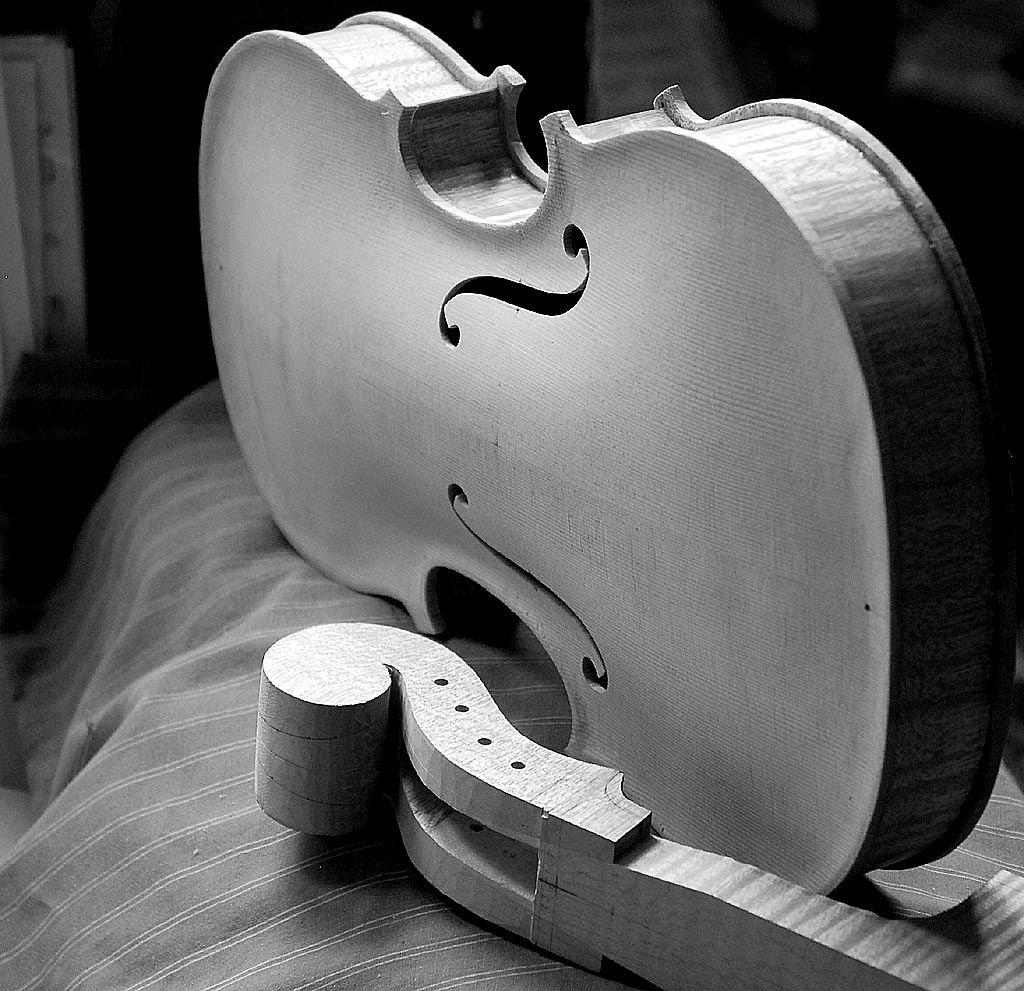
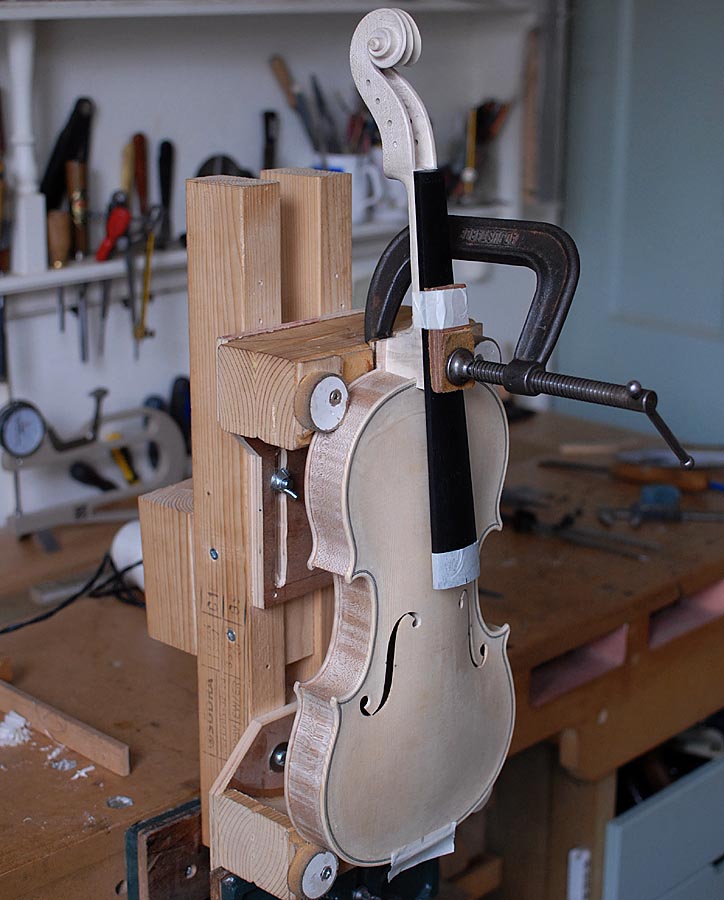
The Making of a Bergonzi violin 1 preparing the mould and blocks | 2 The Rib Garland | 3 Linings | 4 The back | 5 The Top | Probably the most difficult thing to do on a violin. Its an awkward joint - it needs to be dead stright - it needs to be the right elevation - its glued in with hot glue so it needs to go in quick and true ! Hmmm - You can get rid of one aspect a bit by leaving the neck fairly ample then reshooting the neck face down to meet the elevation - and re-fitting the board. I now remove boards for varnishing - so usually re-shoot the neck anyway. Some people angle the neck very slightly to the treble side - or the reverse. But that is easier done by planing the neck surface afterwards, Seting the neck at an angle is a pain - in terms of getting it lined up straight to the tailpin. It helps - when making a board, to establish a centre line underneath before you create the scallop - and a centre pop at the nut positon. I mark now a line at the centre of the end face of the board. You then also have a centre line at the stock. When dressing the board, the edges are scooped in - and with this line you can check whether the scoop is even either side. Another way to check is to very lightly tack the board on - fit the neck dry, then remove the board, Now you have your centre line on the neck face which can take a straight edge down to the middle point at the pin, Needless to say you have to be sure your centre line at the mortice and at the pin are indeed centre - to plates and to ff hole spacings. I do not like the methods that measure from the board ends to the plate edges - or from the scroll eyes with the instrument on its side. My scrolls are often a little wonky - and my plate oultline are not contr-facimile. I am looking for a straight line from the centre of the nut, to centre of the stock, centre of board end to tailpin. Thats all that matters. Ideally this should be centre of the ff holes as well - but the cutting of the bridge can overcome that a tad. The problem really is that one is trying to impose a visual straight line over something that is curved - and the slightest angling one way or t'other throws it all out. It helps, if sighting it - to lay the instrument on some blocks that are flat and level - then sight with the aid of a large set square. Combine that with a string line and one can get a pretty safe bet. Once the fit is good it will stay in dry ok - but actually thats too tight for the glueing. Its to do with when the neck bottoms out on the button face. Its a tapered joint - and it needs to be able to be closed completely when wet glue is in it. The clamp should not be 'pulling it in' - so what good for checking is actually not right for the final gleuing. Not easy - and once glued you're lumbered. Many old instruemnts have misaligned necks - and boards and bridges are cut to accomodate, but on a new build - it should be straight ! Its not the end of the world if its very slightly out - you just have to accept it as a 'bit of colour'. Get on with the next one ! You only set a neck when you make an instrument - its a slow thing to practice ! continued to part 8 - Varnishing ( soon ) |